Using trim masking tape is easy and intuitive, though some little advice should be followed to achieve best results. Let’s take a look in this video tutorial on how to use perforated tape.
In this article you will learn:
Have you ever wondered how to paint around trim moldings? Trim Masking Tape is an innovative product, engineered to help automotive professional painters save time and gain quality when painting around trim moldings.
This product provides a thin plastic band on one side, created to let the tape slide in the leaks behind the moldings so as to prevent the paint from bleeding through. Thanks to trim masking tape, it is no longer necessary to remove the moldings when painting the near surfaces.
In this video tutorial, we discover the qualities and advantages of trim masking tape, while going through the best way to use it.
Like any other tape designed for automotive painting, trim masking tape must provide some essential features to guarantee the quality of the final result, while saving time and effort. Among these qualities, we mention:
The best products on the market boast additional qualities and advantages, as we are going to see in the next paragraph.
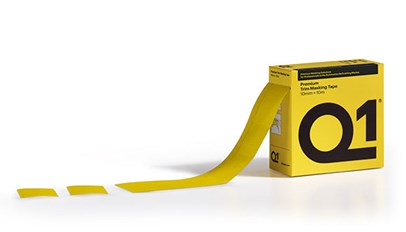
Of course, we suggest using Q1® Premium Trim Masking tape, composed of a plastic strip on a self-adhesive tape and a flexible polyester band of 190 my and a width of 10mm, thermal class B. Thanks to its characteristics, the tape supports high temperatures (up to 110°C/230°F) without leaving any residue.
Using trim masking tape is easy and intuitive, though some little advice should be followed to achieve best results. Let’s take a look:
After the drying, you just have to remove the tape from the vehicle. We suggest accomplishing this job as soon as possible and straight in the booth, as some tapes tend to attach to the underlying surface when the temperature drops. However, best products such as Q1® Premium Trim Masking Tape show a higher tolerance than average products on the market, and can be removed also outside the booth.
If you still don’t have this product in your stash and it’s a bit difficult to remove, another way that you can remove adhesives and decals from your car is by applying heat.
When you apply heat directly to the adhesives you’ll be able to work with them a lot easier. The best way to do this is with a heat gun or a blow dryer. Keep the heat gun moving to apply as little heat as possible.
Once the tape residues are warm, take a plastic razor blade and scrape them off (carefully, or you will damage the paint).
Let's get in touch.
Keeping excellent masking products in your shop means selling efficiency and high productivity to your customers. Join the Q1® family to watch your business grow.