Here’s our tips to obtain a better adhesion to the walls or the surfaces you need to paint and to get rid of smears. You will also find a bonus in this article: some terrific tapes you can buy right away.
The purpose of using painter’s tape when painting is to mask off or hide surfaces that should not be painted. I mean, that’s the whole point of it. However, there’s always that annoying tiny amount of paint that runs underneath your masking tape and ruins everything. Well, there are a few steps you can take to obtain perfect lines.
Read carefully each advice:
Let us bust you a myth: paper tape is simply not designed to perform well for your paint job. To help prevent seeping problems, professional painter's tapes (or masking tapes) are what you need. This kind of tape seals tightly to the surface, yet is easy to remove and leaves behind no sticky residues.
Most masking tapes are designed to be used on multiple surfaces, but we suggest choosing carefully your tape. You could use, for instance, a product designed for delicate surfaces when you are painting a textured surface.
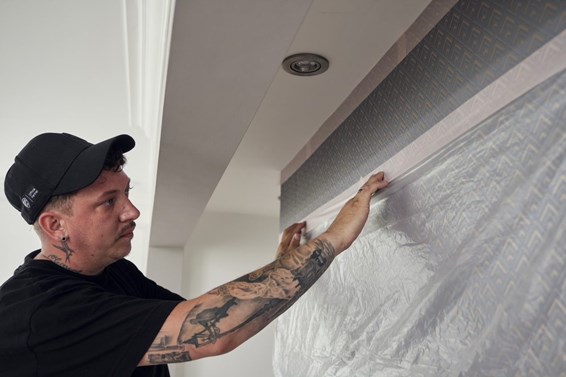
In the picture below: 3590 Q1® Sensitive Surface Masking Tape used on wallpaper.
Painter’s tapes will not adhere well to a dirty surface. For this reason, nothing must separate what you’re going to paint and the tape. Clean the surface with a damp cloth to remove dust or any kind of dirt you may find and make it dry completely (use a dry cloth, if needed).
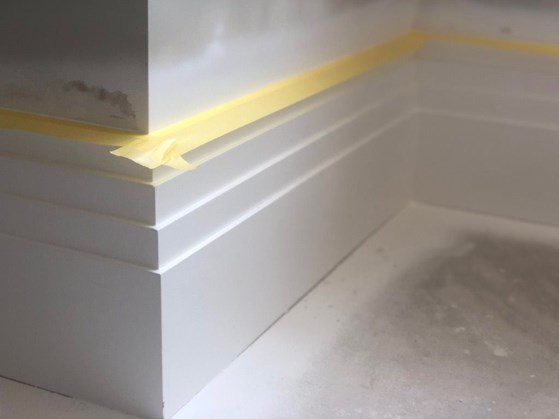
Skirting boards are the perfect example of a surface that’s always dusty. Be sure to clean it properly before masking.
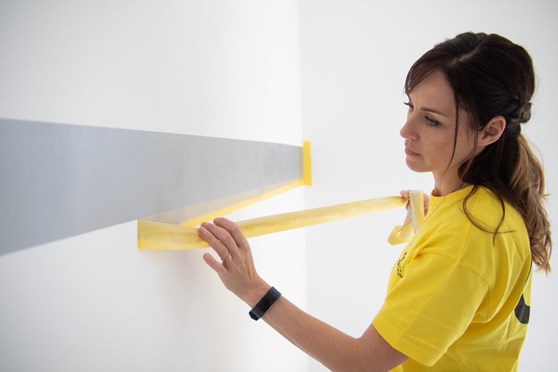
Now that everything is nice and clean, it’s time to apply the tape on the sections that need to be covered.
Once you put your paper masking tape all over the place, you have to do a tiny little thing that many painters skip (or they’re just too lazy to do it): seal the edges of the tape by running a flexible putty knife across the side of the tape closest to the surface you plan to paint. Voilà, that’s the right moment to start painting with the technique you want.
If you want to be 100% sure to obtain crisp lines, you can also make an additional trick. Paint over the edges of the tape with your base coat color using gentle strokes of a paintbrush: this will create a seal between the tape and the base coat. Sealing the edge of the tape prevents any seeping and ensures that your next paint color won’t bleed underneath the tape. Then, you can finally proceed to paint your second colour. Yes, it takes a little more effort, but the results will be stunning.
See? No bleeding, just straight and clean lines (3560 Q1® Precision Line Masking Tape made the job sooo much easier).
Now that you know all the tricks, you can find any tape you need right here.
Let's get in touch.
Keeping excellent masking products in your shop means selling efficiency and high productivity to your customers. Join the Q1® family to watch your business grow.