Automotive professionals are keenly aware of the integral role that masking tape plays in the outcome of a good paint job. But not everyone knows what the market offers for specific applications such as rubber trim masking and jambs protection. Here is a brief guide on how to tape a car for painting using the right product for every surface.
Let’s start with the basics. For most surfaces, the perfect masking product is a regular automotive masking tape, that you can use to protect wide and narrow surfaces. To tape a car for painting with this product, just proceed with the following steps:

You must thoroughly clean and dry the areas where you plan to apply the tape, and make sure they are free from dust. If you are drying the paint in a booth cabin, choose a high temperature resistant tape.
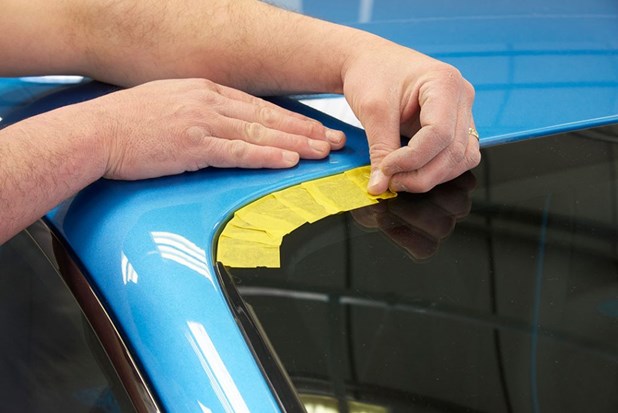
Trim masking tape features a short plastic band on one edge, designed to ease its application inside the thin grooves of rubber trim moldings. If you have to mask off head and taillights, sunroofs and windscreens, trim masking tape is an ideal choice.
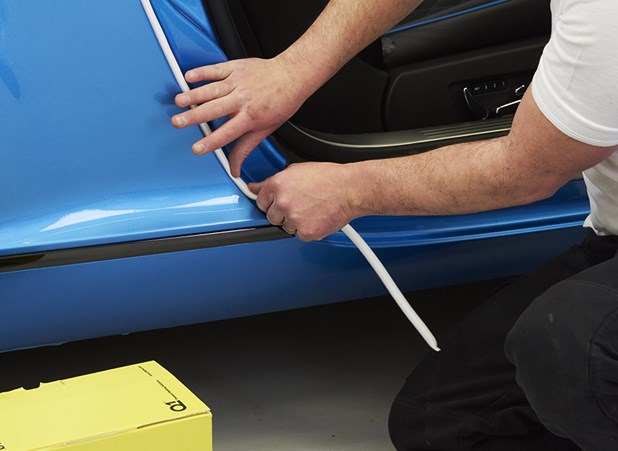
We are at the final step of our guide on how to tape a car for painting: protecting door jambs, bonnet gaps and A-posts from overspray and paint bridging. Applying regular masking tape in these areas is not recommended. The best solution is to use a special foam masking tape. This product perfectly fits the grooves and apertures preventing the paint from bleeding through. Its application is easy and swift, as shown in the below image:

This product line is highly conformable and easily adheres with a simple touch. It perfectly fills the gaps, leaving no leaks for the paint to filter through.
Let’s get in touch.
Keeping excellent masking products in your shop means selling efficiency and high productivity to your customers. Join the Q1® family to watch your business grow.