The masking process involves some tips and tricks that only the best professionals know, especially with some parts of the vehicles like car windows. Read some advice from our automotive team.
Masking is a crucial step for car detailing and painting, because it ensures that paint doesn’t get on the wrong spots. Car windows are among the most hated parts to mask: many professionals can’t find the perfect method to cover the area and leave it clean after demasking.
Here’s how we do it.
Scroll to the end of this article to see a video demonstration.
After cleaning the car with soap and water, wipe with wax and grease remover to make sure that dust, dirt and contaminants are removed.
Then, put masking tape on the car window following the edges. Press the tape to make it stick properly to the surface.
Uneven paint jobs are usually a result of masking tapes that don’t stick enough, so look for high quality products that will not spoil the quality of car painting nor will leave sticky residues.
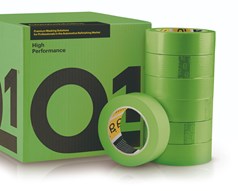
We suggest using products like Q1® High Performance Masking Tape, because:
Put pre-taped masking film on top, following the upper edge, and unroll it.
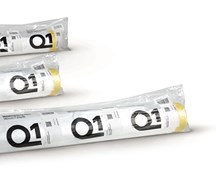
In our opinion, Q1® Premium Drop Film is perfect for this purpose, because it adheres well on surfaces, it saves you time in masking and ensures a clean result after painting.
You can also use masking paper, if you are used to it, but we think that plastic film makes everything quicker and it’s easier to cut down to size.
Using a razor blade or scissors, cut out the film following the edges of the car window.
Be careful, because these are the details that will make the difference between a well done job and a mess you’ll have to fix.
Tape the edges to make the masking film stay in place and adhere to the car window.
Make sure that there are no holes in the masking film that could allow paint to get through. Now you can start painting the vehicle without worries.
You can see the procedure and the final result in this video.
With Q1® masking products the final result is gonna be nice, neat and clean.
Let's get in touch.
Keeping excellent masking products in your shop means selling efficiency and high productivity to your customers. Join the Q1® family to watch your business grow.