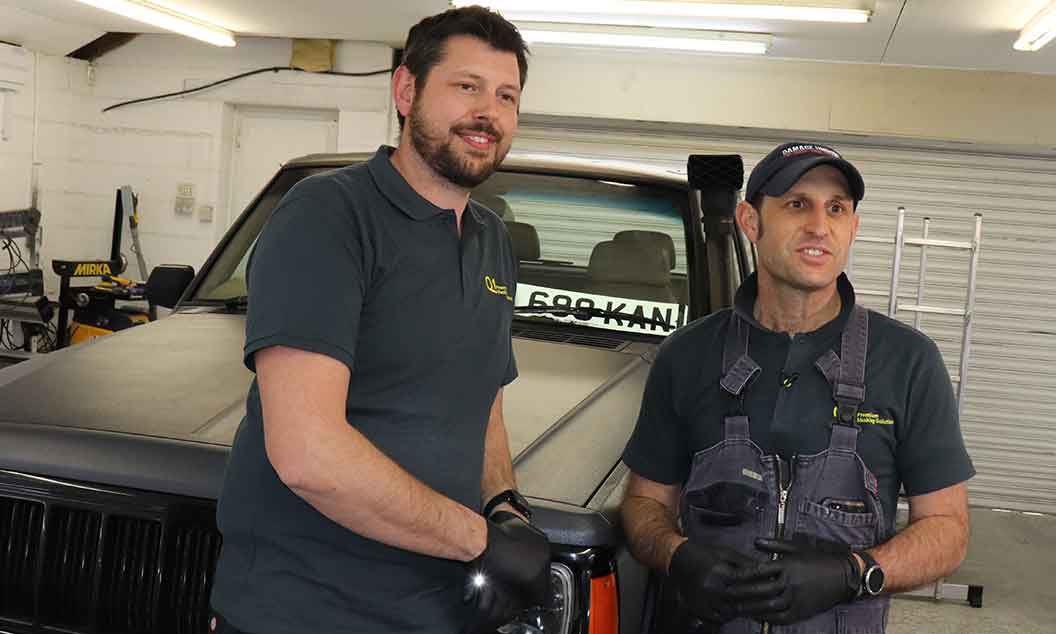
For Adam Elkins, a keen off-roader, keeping his Jeep Cherokee in mint condition meant respraying it with Raptor textured paint. An almost impenetrable textured paint finish, a correctly applied Raptor lining will protect any vehicle from water, salt, stains, scratches, rust corrosion and stone chips.
Here, Adam, a paintless dent repair specialist by trade, works with colleague and friend, Wayne Beardmore, owner of Damage Undone, to finish the Raptor respray on the roof panel of his Jeep. The duo share their expert preparation, masking and painting tips:
When using Raptor refinishing paints, the coarseness - and therefore the level of protection - can be built up depending on the function of the vehicle or the desired aesthetic look. The thicker the paint mix, the more heavily textured and durable the finish, finer textures can be produced by adding more thinners to the paint mix. Adam is opting for a coarse finish to match the rest of the vehicle.
Adam’s Jeep Cherokee has several rubberised roof trims. The first stage of preparation is to carefully remove these and any residual glue using either a plastic handheld scrapper and glue remover or a rubber candy wheel. Wayne usually prefers the handheld scrapper for maximum control.
Once all the glue is removed, blow the roof panel clean with pressurised air to ensure all residue and dust has been completely removed.
For Damage Undone, Q1®’s premium masking solutions are unrivalled for application, performance quality and clean removal. Ahead of any sanding process, Wayne recommends masking off all surrounding panels with Q1® Premium Masking Tape. For this job he used the 48mm tape, which is the widest of the four options (18mm, 24mm and 36mm also available).
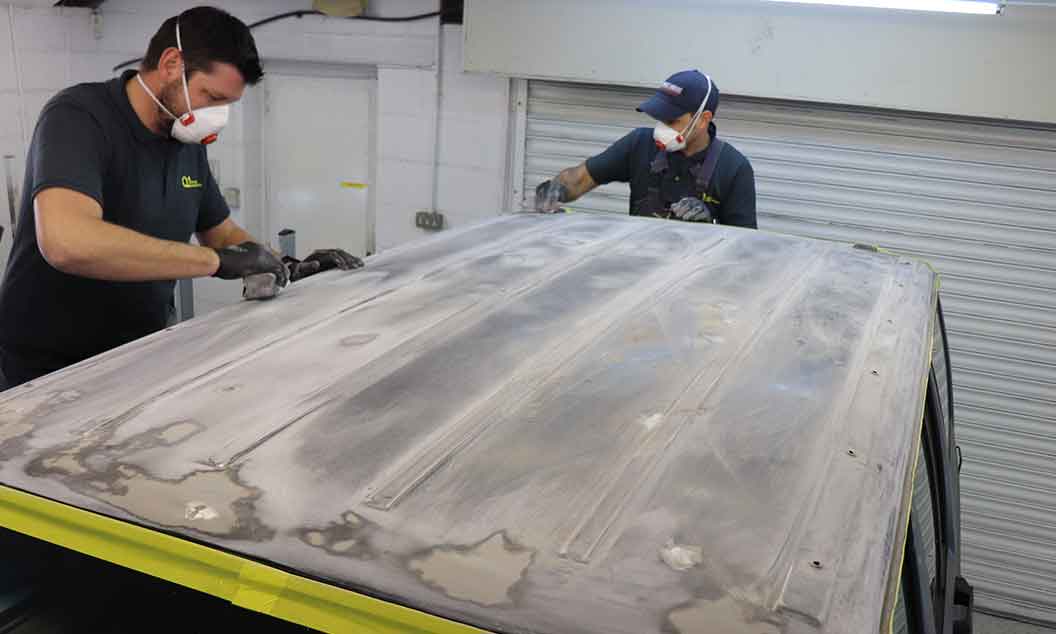
Once the roof is masked and all adjoining panels protected, sand the roof panel using 320 and 400 grit discs, which will provide an ideal grip range for this job.
Adam notes that some areas of his Jeep needed more intense sanding because the original clear coat had started to break down due to age and sun damage.
Sanding complete, clean the roof panel thoroughly and remove the Q1® tape – a simple task thanks to its no residue guarantee.
A more thorough masking up process is the pre-paint masking, which is a must to protect any areas that are not going to be painted. Wayne knows from experience that combining a number of premium masking products will not only provide optimal protection for already finished panels, but can also improve the finish of the coat you are about to apply.
To mask up this Jeep, Wayne’s first product of choice is Q1®’s Trim Tape. He gets Adam to insert the hard, plastic edge between the roof and the windscreen trim, before removing the adhesive backing and folding the tape down onto the glass. This provides a soft blend for the Raptor between the roof and the windscreen.
To mask the boot shut, his product of choice is Q1®’s 13mm soft edge foam masking tape, which he runs along the inner edge of the boot lid before closing it and creating a soft edge between the roof and boot lid. Foam masking tape offers a swift easy to use solution to masking up and sealing gaps, whilst creating a soft paint finish; something which is of particular advantage with textured finishes that would look particularly unpleasant with a hard paint edge.
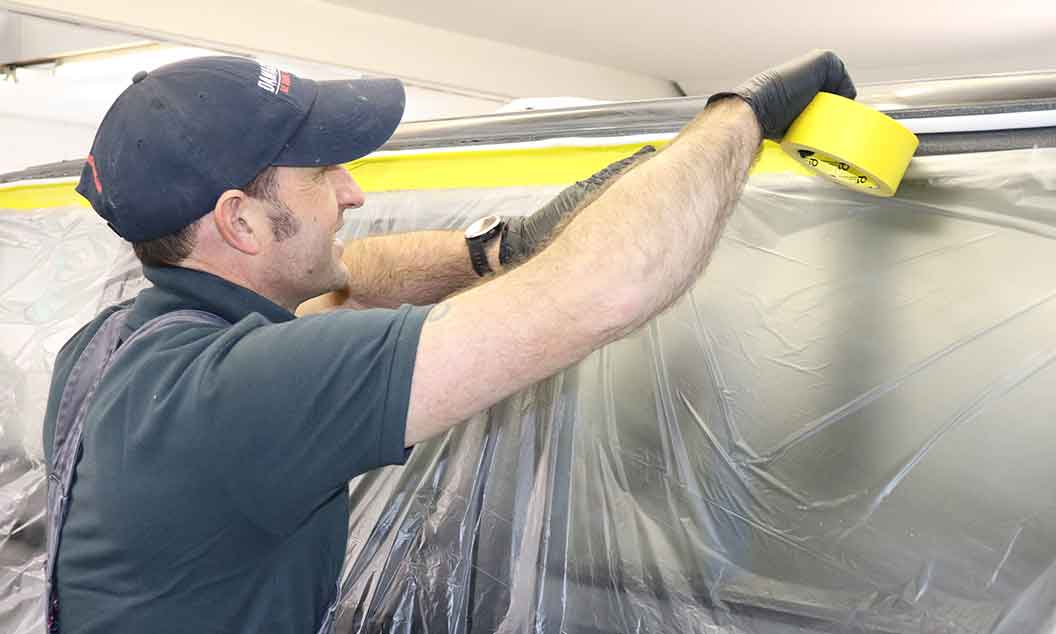
To protect the rest of the car, Wayne prefers Q1®’s electrostatically charged protective film with Corona treatment, which prevents drips, flaking and draws away any dust particles from the panel throughout the painting process. Using the centralised print to quickly and easily cover the entire car, the duo cut around the roof panel before using more 13mm soft edge tape along the rain gutter. Finally, Wayne and Adam use more 48mm masking tape to seal the edge of the film around the edges of the roof.
Before painting, it’s vital to seal any exposed metal with a premium-quality etching primer. This is quick and easy and will ensure proper adherence of the Raptor lining spray.
To achieve the desired colour, Wayne and Adam add 100ml of solvent paint to the Raptor lining bottle, along with the hardener and shake it well to ensure a thorough mix. At this stage thinners can be applied to the mix if a finer texture is desired. Using a Schutz spray gun, Wayne evenly applies two coats to a 3 – 3.5bar thickness to match the rest of the re-sprayed body work. He gives each coat a 30 to 40-minute flash dry before applying the next layer.
Once again, removing the Q1® masking products is quick and easy with no difficult residue to remove, which means once the painting is done and fully cured, the job really is finished.
Want to watch this step-by-step process in action? Learn how to apply Q1® products with accuracy and see the textured finish of the Raptor lining for yourself. Damage Undone made the switch to Q1 products after experiencing the premium performance quality for themselves – is it time you switched? Find out more here.
Let's get in touch.
Keeping excellent masking products in your shop means selling efficiency and high productivity to your customers. Join the Q1® family to watch your business grow.