Jamie Lunn from Car Cosmetics shows us a step-by-step guide to fixing peeling paint on a car bumper and putting the shine back into faded bodywork.
When took receipt of a black and red edition Fiesta, he could instantly see that it wasn’t just the localised lacquer peeling that was the issue. As an independent body shop specialising in SMART repairs and detailing, Car cosmetics in Aldershot offers a range of bodywork repairs and high-end paint correction and protection services. Here, Jaime talks us through how to put the shine back into a poor quality paint job, including a localised repair for peeling paint.
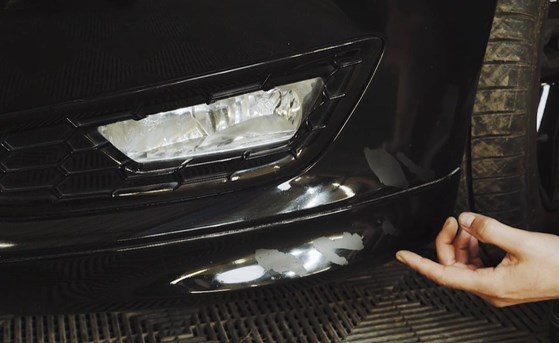
Masking the headlight and trims before sanding is imperative. For this step I used Q1®’s one-inch Premium Masking Tape. Once masked, I used a 320 grit handheld sander to remove the damaged lacquer until the area is smooth and defect free.
I am keen to always test out new products with a view to improving the quality of my work and the speed of my repairs. I noticed the performance difference almost immediately after switching to Q1.
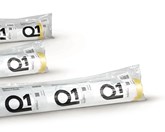
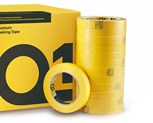 Q1® Premium Masking Tape: this automotive refinish masking tape can be applied with ease to all vehicle surfaces. For difficult application, the car masking tape can be torn by hand in short stripes that fit the most irregular surfaces.
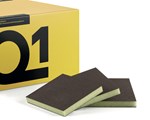 Q1® Double Sided Sanding Sponges – FINE: thanks to new system technology, the pad is coated both sided and could be used on wet or dry.
Using more one-inch tape, alongside Q1®’s Premium Masking Drop Film, mask a wider area so that you can prime the localised damage, with no concern for overspray. To prime the area, use pro XL high build, which, with its rapid drying times, is ideal for building two coats on a small area.
With tape along one edge, you can create an instant barrier without having to use multiple products such as masking paper to the vehicle, which can be time consuming and awkward.
On this particular vehicle, the number plate is hard glued in place. I suggest reaching for Q1® Foam Masking Tape, which tucks behind the number plate to create a soft finishing edge.
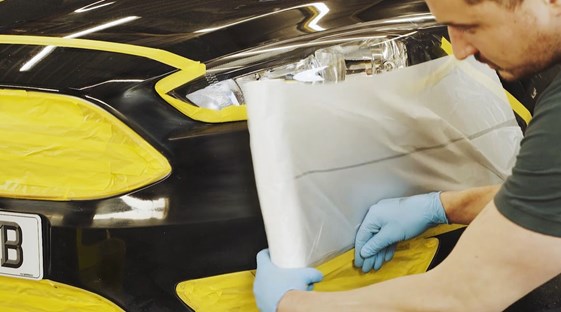
The number plate is then protected with masking tape. Use the Q1® Premium Protective Film, which can be quickly drawn up and over any vehicle when large areas need to be covered and protected.
 Q1® Premium Drop Film: I consider the Premium Masking Drop Film a real lifesaver when wanting to quickly mask off a portion of any vehicle. I noticed that this drop film can also be easily applied using a masking gun.
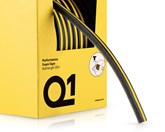 Q1® Performance Foam Tape: the ideal masking solution for reducing masking time around doors, tailgates and other vehicle access points.
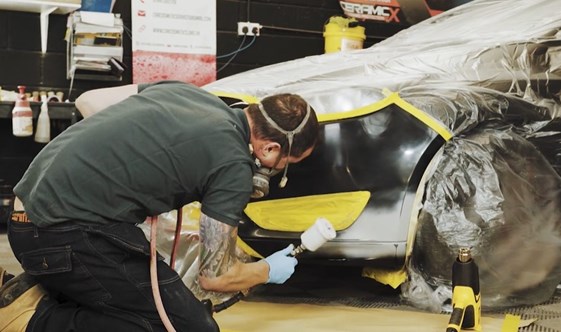
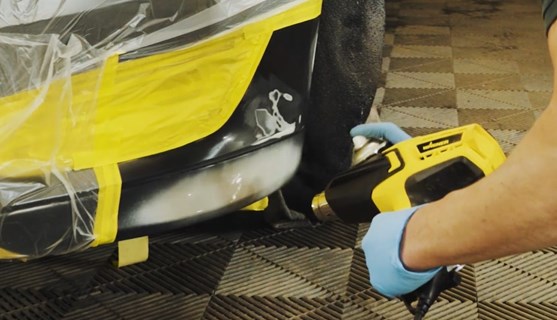
Once the area was prepared for paint and masked up using an ANI r150 1.0 gun, keep the paint blend local and apply three coats. Use a heat gun to dry each coat for around five minutes, followed by an infra-red lamp placed to the bumper to give quicker drying time on the base coat applied.
During this stage Roberlo vt141 lacquer was mixed to a five to one ratio - perfect for small repairs requiring a quick drying time. Right before the lacquer application, a quick tack and blow of the area was carried out to ensure a clean finish on the bumper.
Apply two coats of lacquer one after the other with only a two minute flash off between coats. Use Pro XL smart blend to help flow out the area where the lacquer finished, with one final infra-red bake.
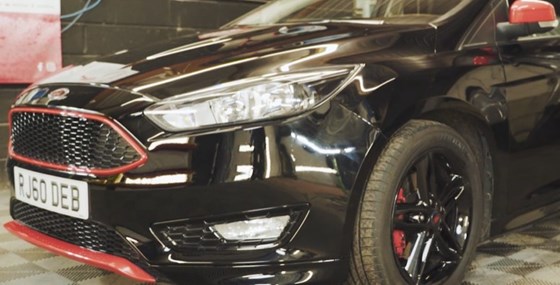
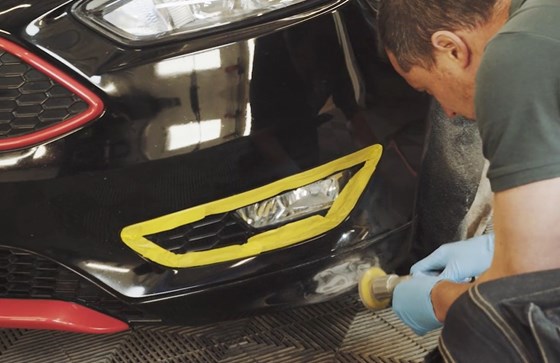
Use a range of machine polishers when completing a paint correction and detailing job. For the pillars and roof area I used a rupes lhr75e with microfibre pads to remove swirls and enhance the paint work.
This is a two stage process: firstly, cut through the surface so that you can de-swirl and remove scratches. Once complete, enhance the paint work.
Jamie and Car cosmetics made the switch to Q1® products permanently after experiencing the premium performance quality for themselves. Become a Q1® fan!